How We Made Our Amazing Chick and Duckling Brooder
This brooder is no-mess, inexpensive easy to clean and keep clean, and easy to make if you have two people and a few power tools. Here's the breakdown of how we made this brooder.
Outer Brooder Box
Dimensions: 6' x 4'
Materials: Plywood (one 6' x 4' piece, three 6' x 1' piece, and three 4' x 1' pieces), screws, optional but recommended: paint, sealant, biggest (optimally 2"-3") hole saw bit you can find.
Construction: Start by screwing in the top and bottom pieces (4' x 1's) and the side pieces (6' x 1's) into the back piece of plywood in order to make a box.
You will need to trim the length of the side pieces by the measurement of the thickness of both top and bottom pieces.
You will end up with four 12" x 1" scraps if done correctly, save these for the next step.
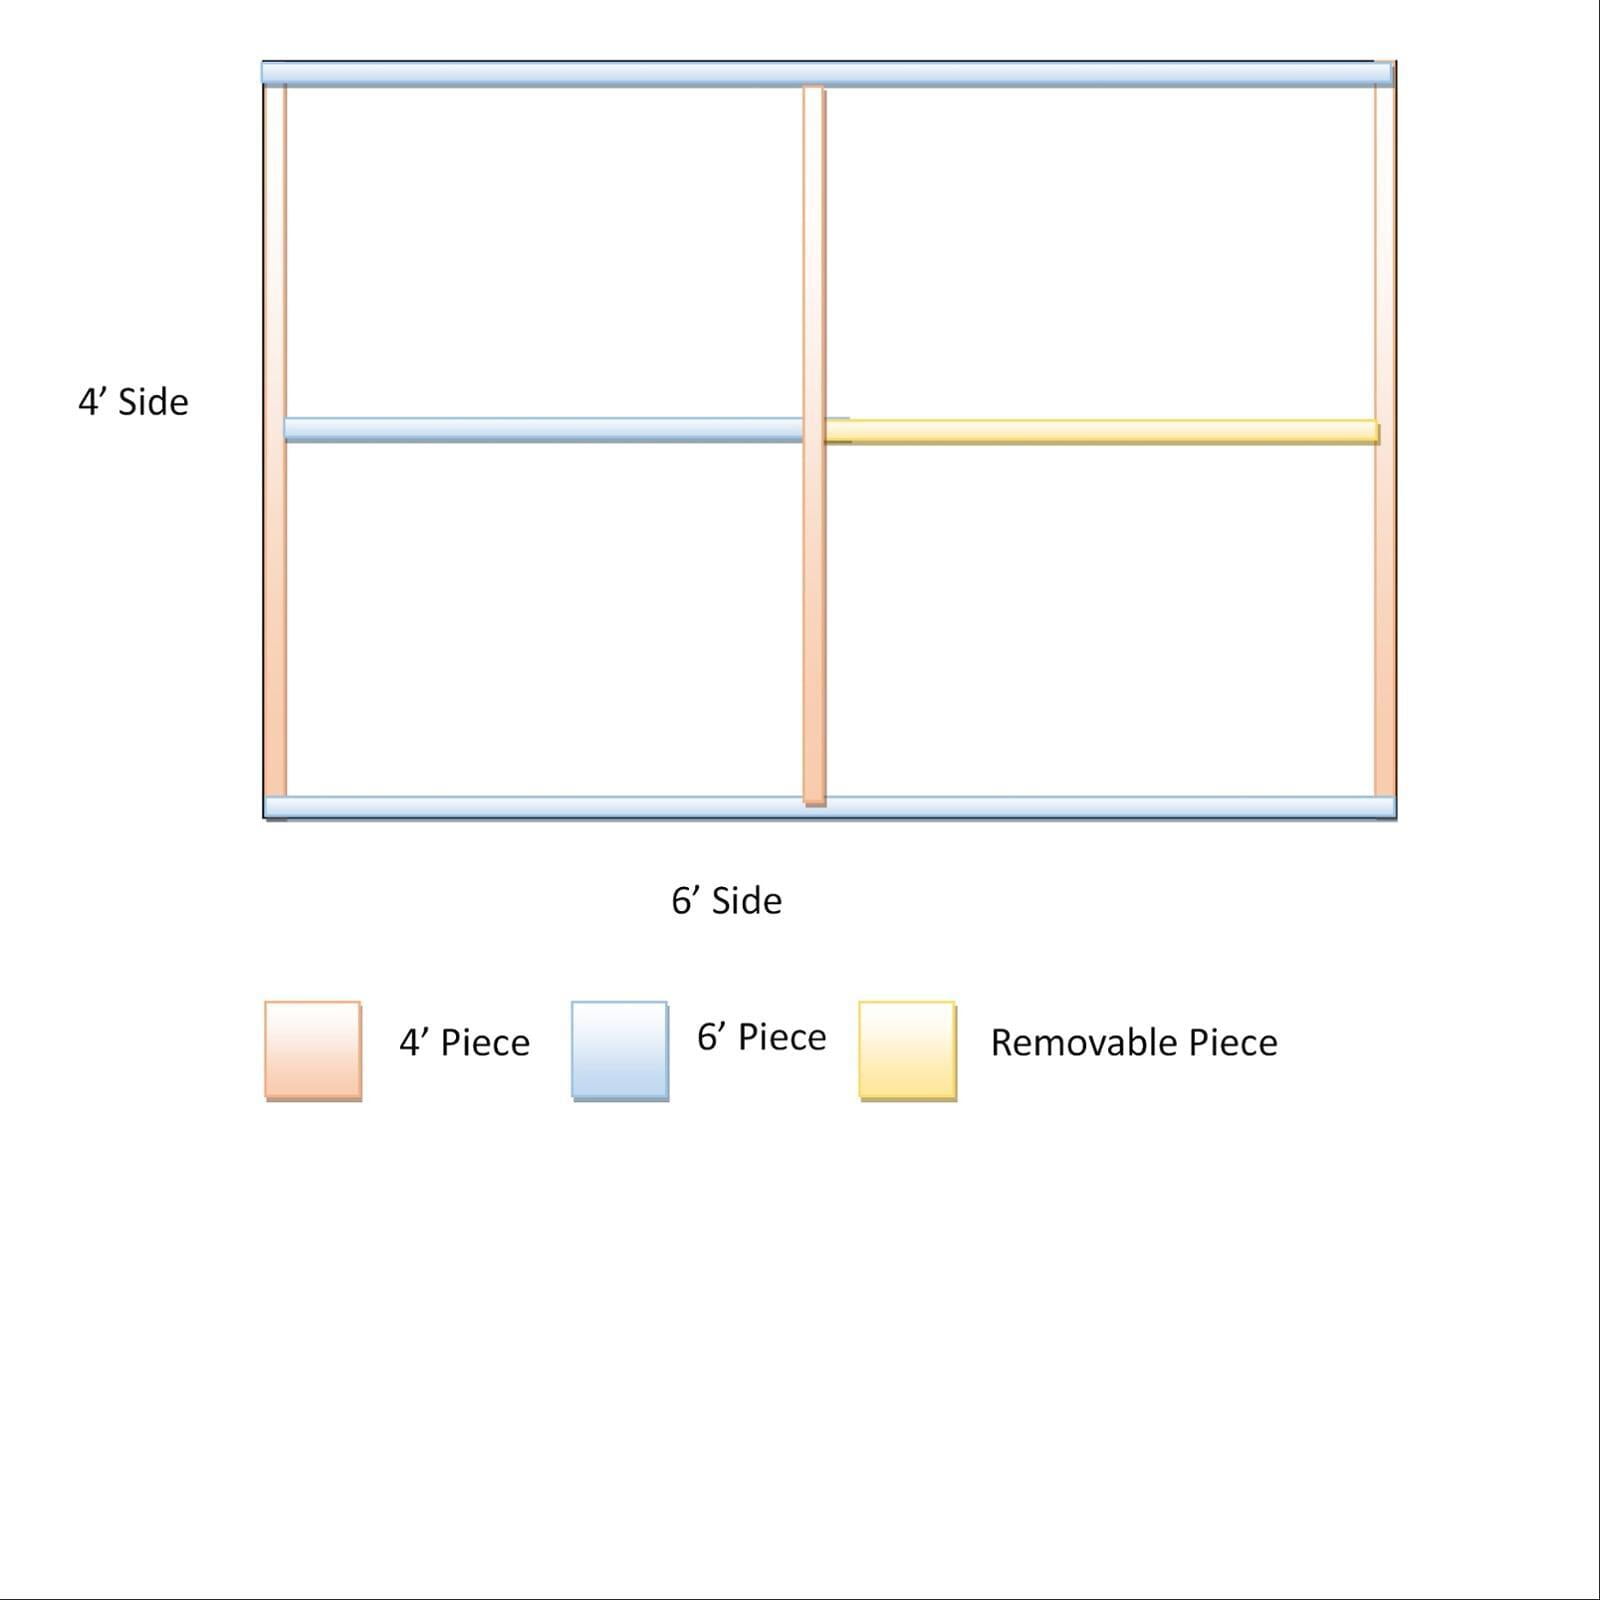
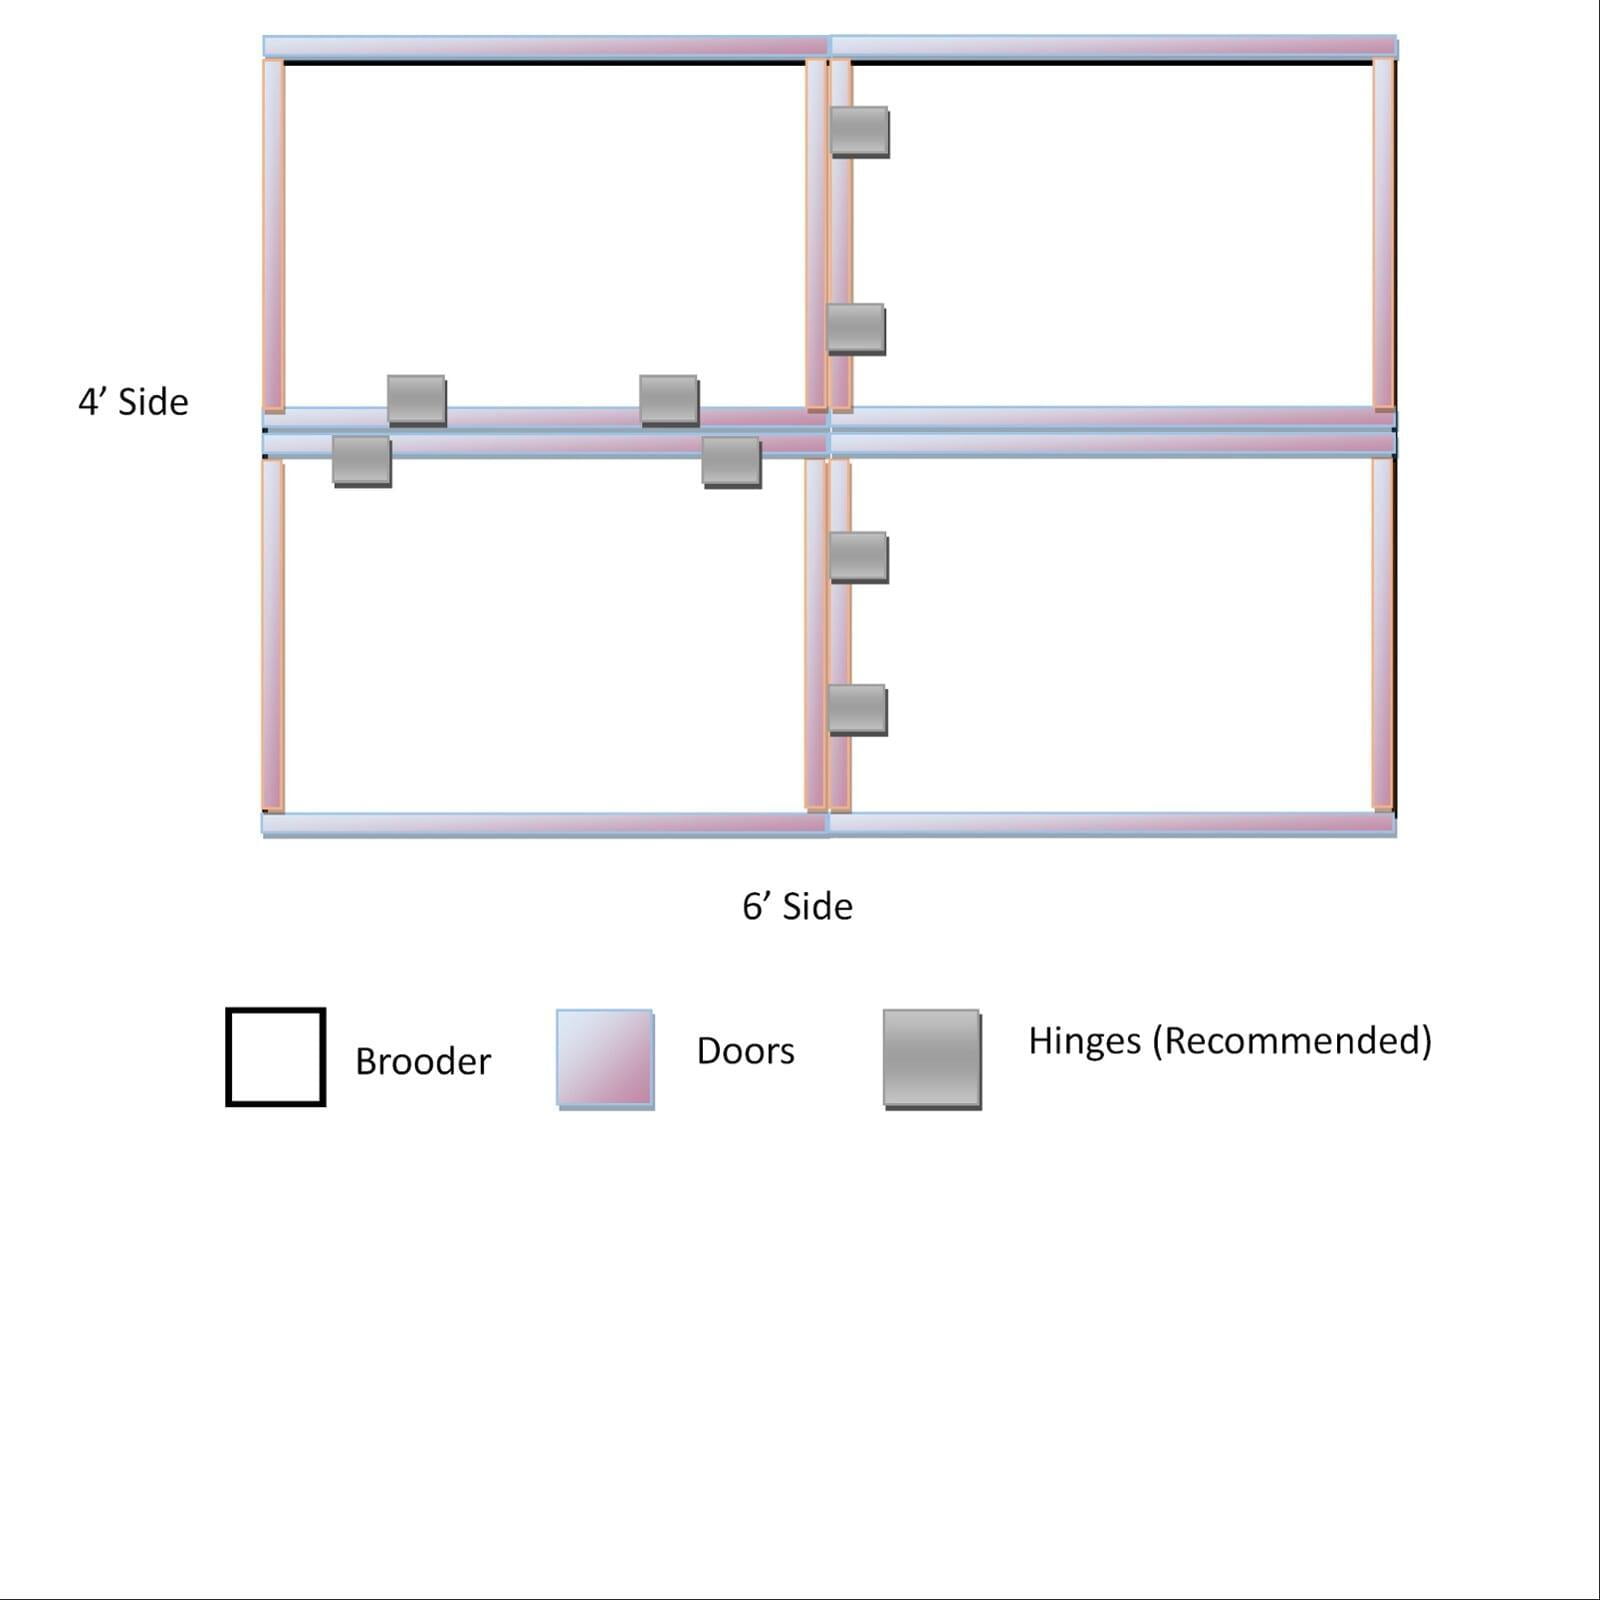
Inner Brooder Box:
Dimensions: Four 3' x 2' chambers with a removable divider between two of the chambers
Materials: Continued from first step
Construction: You will need to trim the last 4' x 1' piece by the measurement of the thickness of the side pieces. Then, measure and mark a halfway point in between the top and bottom, and screw in this middle piece.
Then, cut your 6' x 1' piece to make a divider exactly halfway across one half of the brooder in a + shape - if you have 1" thick plywood, you will need a 2' 10.5" piece to go in this section.
Cut another piece the same length, but do not screw it in the other side. Gently set it in where it would go and ensure that the piece can be lifted in and out easily.
Using your four pieces of 12" x 1" or so scrap wood, screw them in at each end of the non-attached piece, one on each side, so that they are holding the non-attached piece in place.
Drill one hole in the outermost corner of each chamber, through the back of the brooder for easy cleaning later.
You should end up with four chambers within your brooder box, two of which have a removable, sliding divider between them.
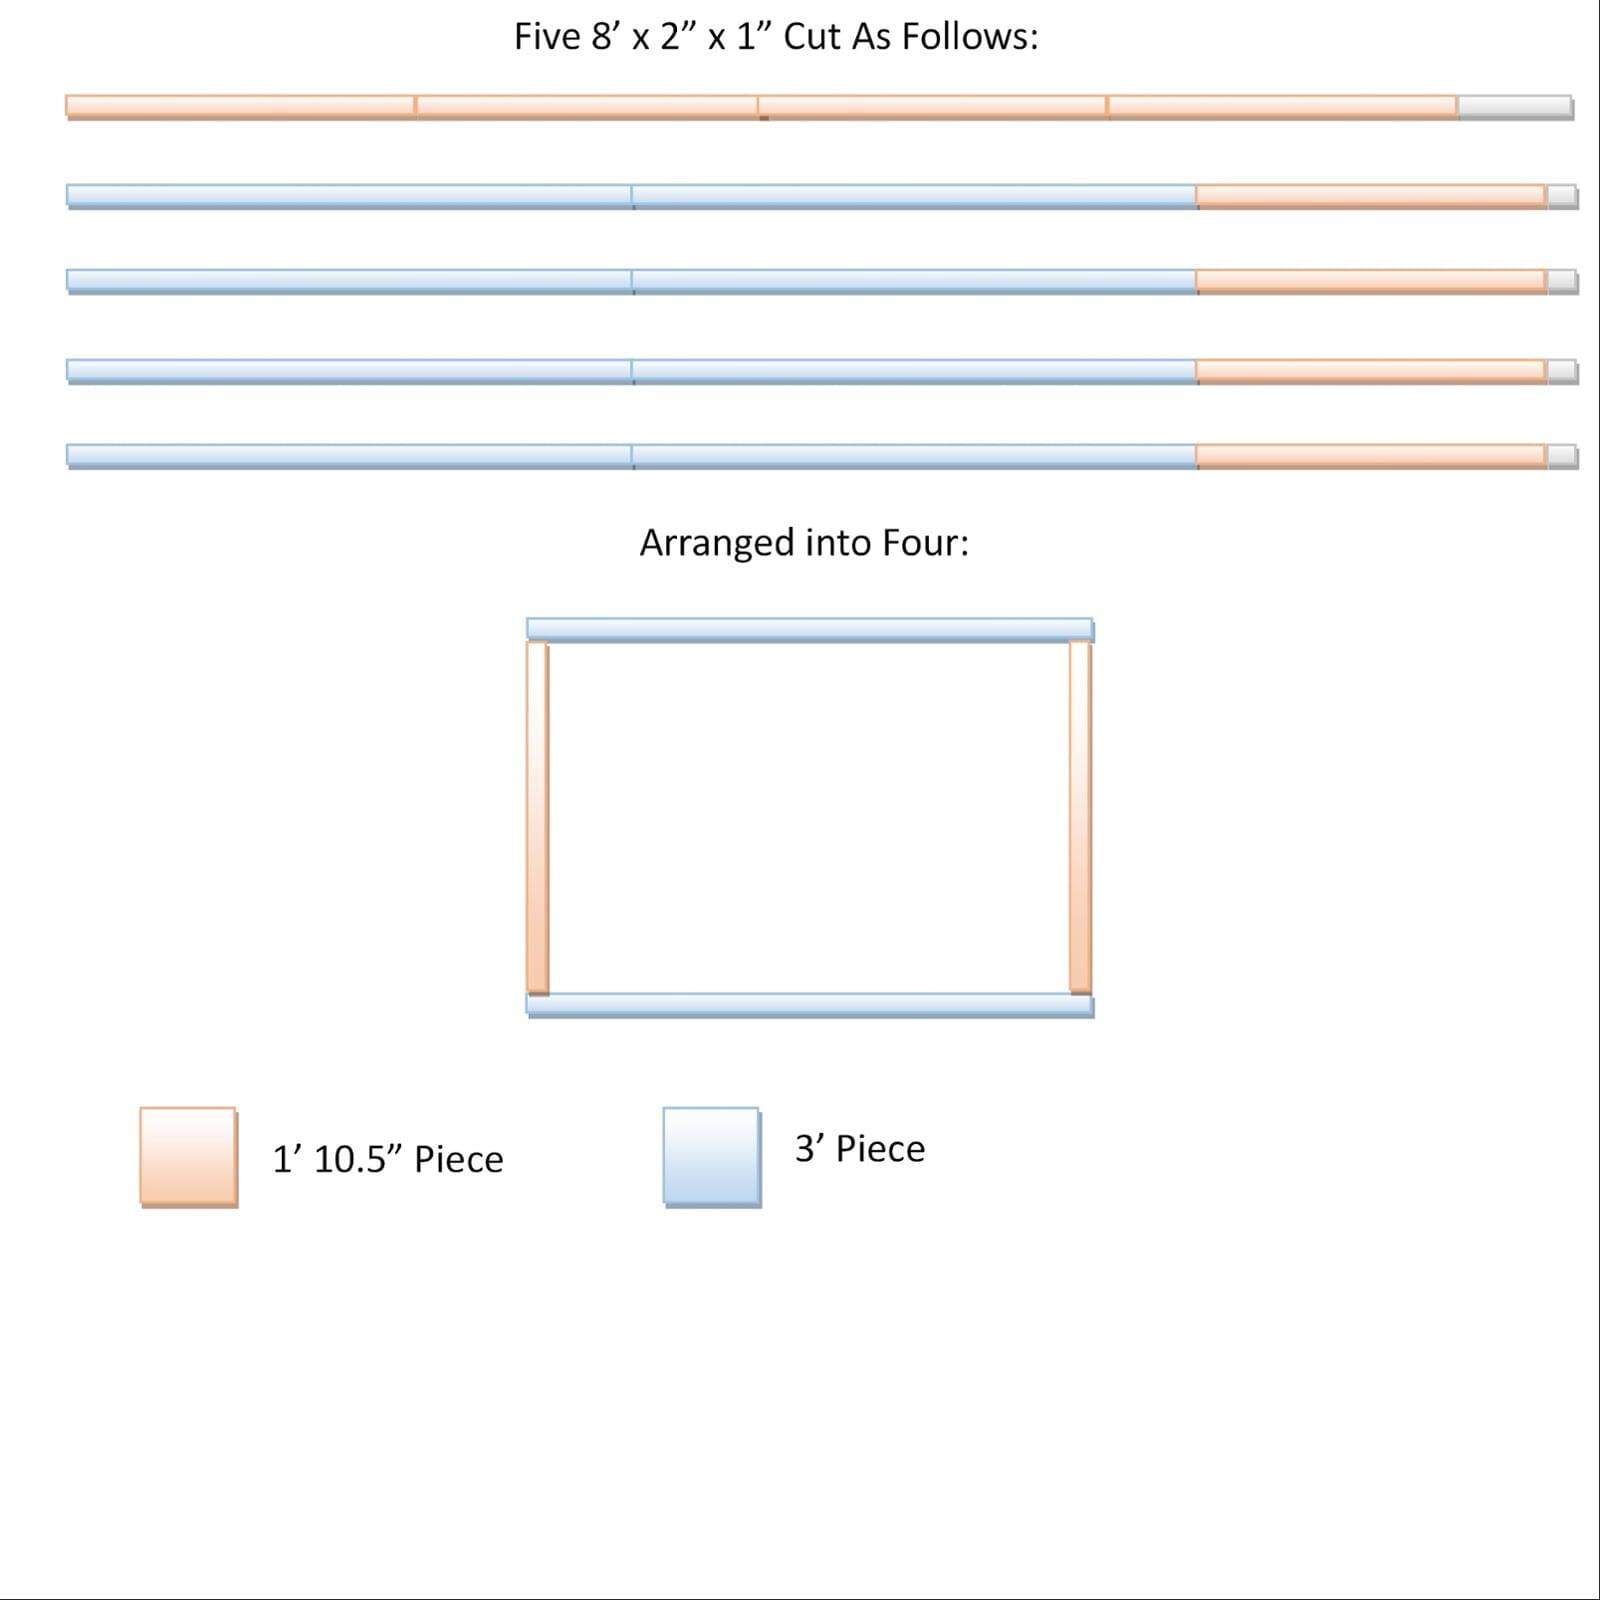
Top Doors of Brooder:
Dimensions: Four doors each measuring approximately 3' x 2'
Materials: Five 8' x 2" x 1" wood pieces, hinge hardware, screws, 12' of 2' tall hardware cloth, staple gun.
Construction: Cut the wood for this step as follows: one 8' section cut into four equal 1' 8" pieces, four 8' sections each cut into two 3' pieces and one 1' 8" piece.
Make four rectangles by screwing together two of the longer pieces on the outside to two of the shorter pieces on the inside.
Top Doors of Brooder (Cont.):
Cut four 3' pieces of hardware cloth and affix each to the outside of a rectangle using high quality, heavy duty staples.
Affix each door to the brooder box using the hinges in your preferred spot.
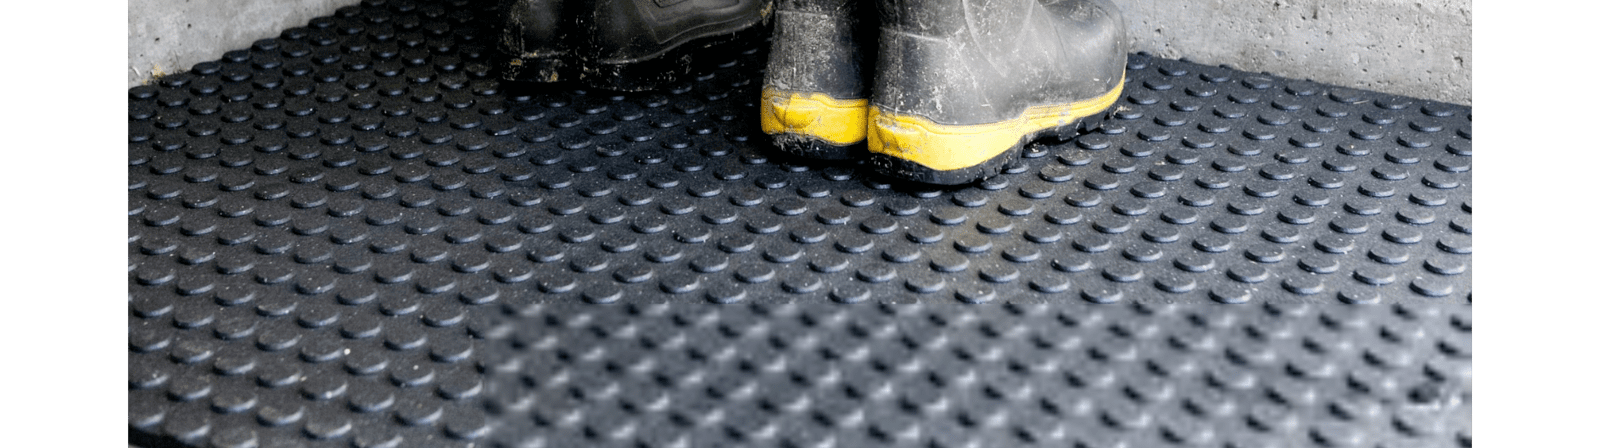
Bottom of Brooder:
Dimensions: Two sections each measuring approximately 3' x 2' and one section measuring approximately 3' x 4'
Materials: Rubber horse stall mat from Tractor Supply Co.
Construction: Cut the stall mat (we used a circular saw) to fit each chamber of your brooder. It is best to cut it into 4 equal sections and then cut it to fit specifically for each section. This part is difficult and stall mats are heavy, so make sure you utilize a friend's help for this part! Note: for the section with a removable divider, be sure to cut the stall mat to fit both sections without a divider so that there is not a gap in the middle when the divider is removed.
Fill with 2" of pine shavings over the stall mat.
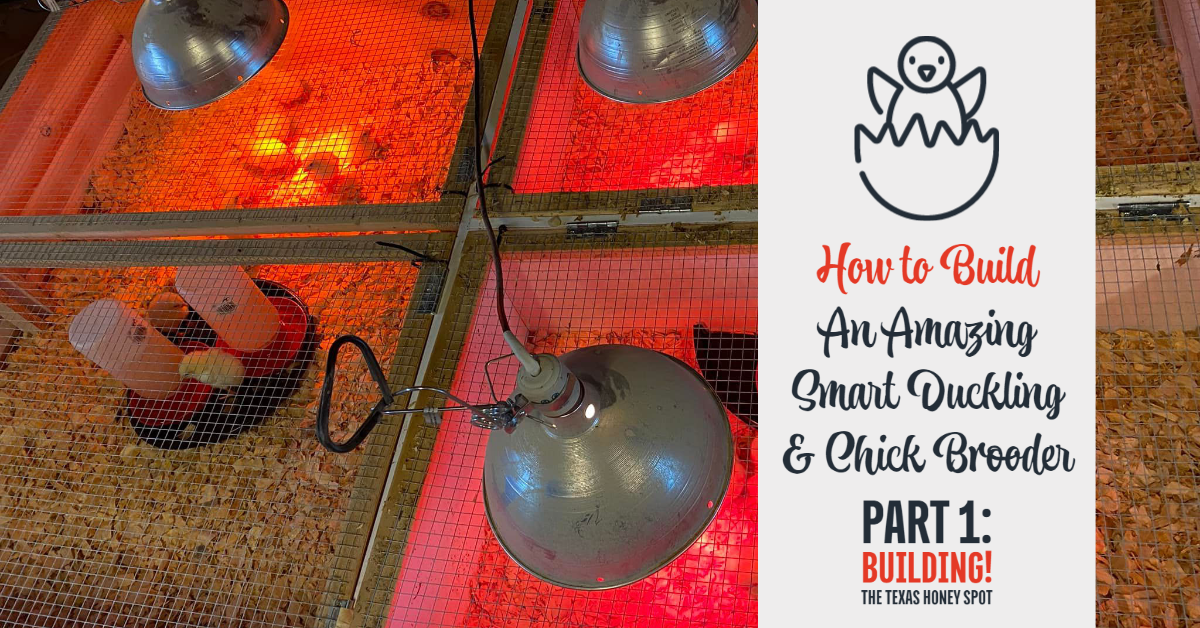
Here's our brooder to show you what the finished project should look like. Feel free to paint or seal the brooder to keep it fresh, clean, and easier to wash out.
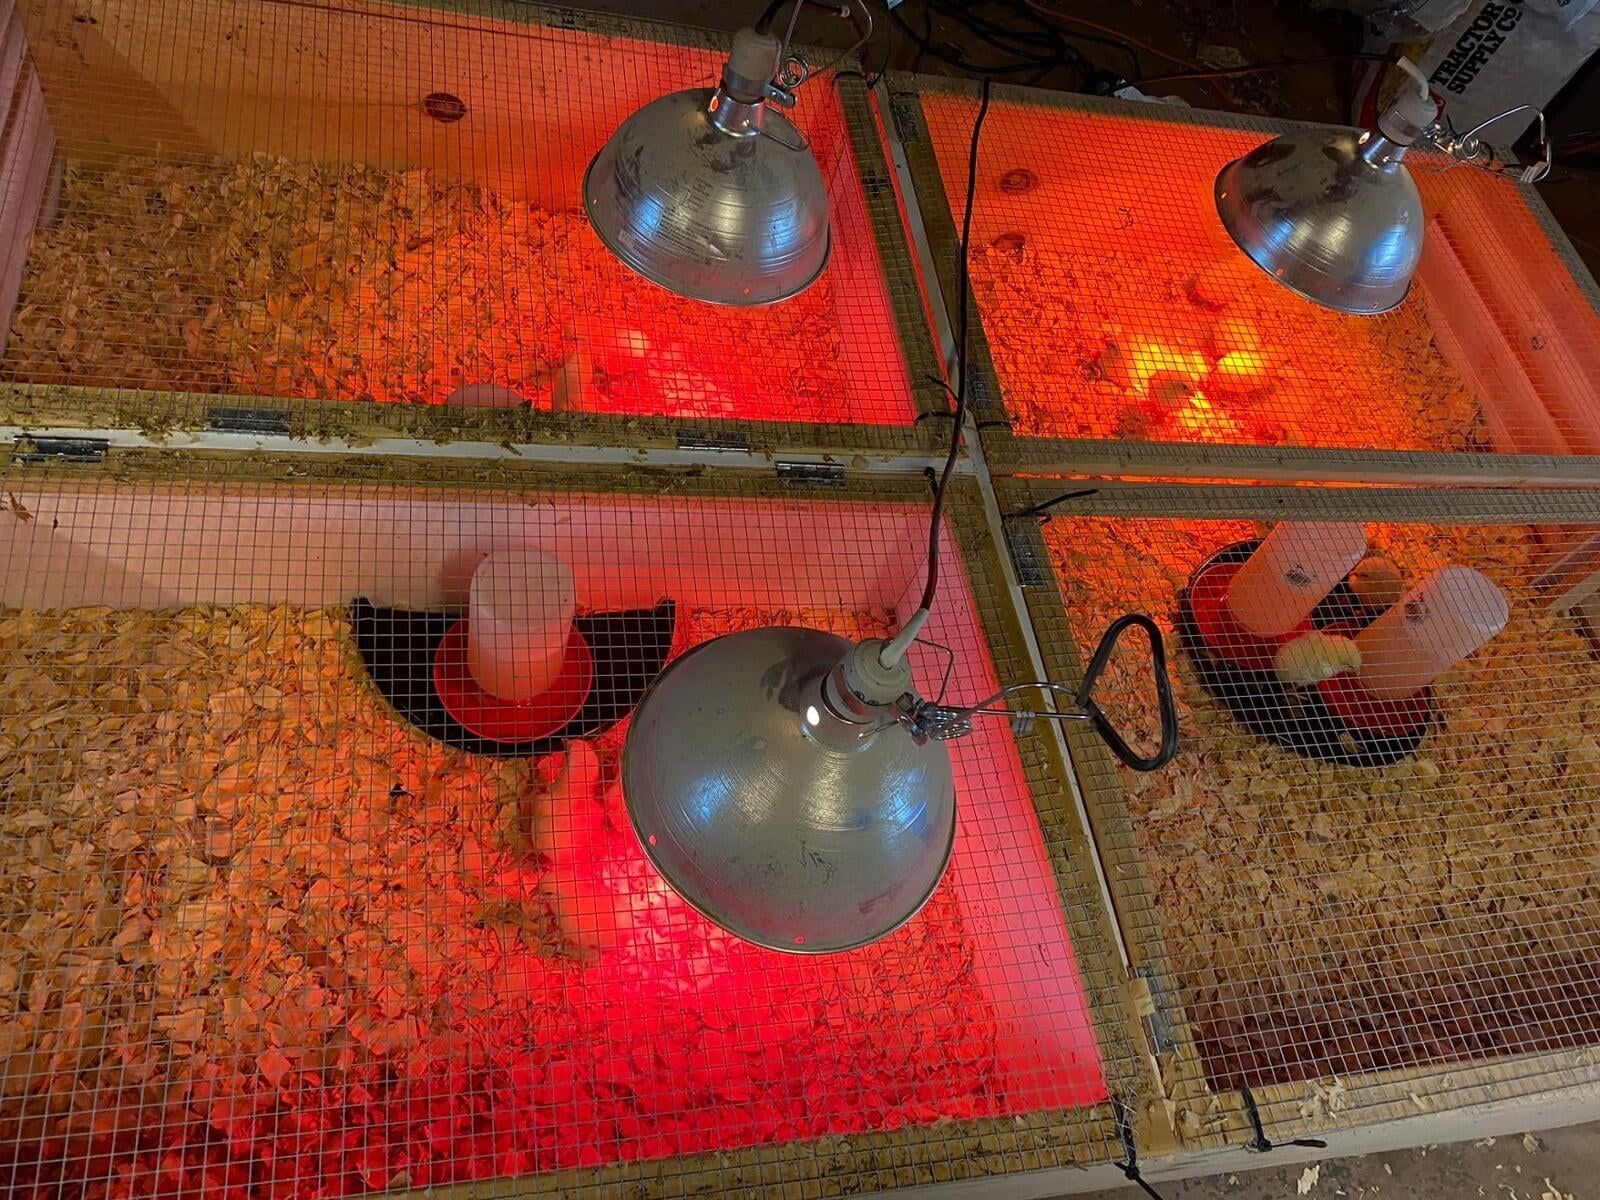
Be sure to tell us what you think of this brooder, and any advice or tips we can give to anyone who would like to build it in the future. Ready to learn how to make this brooder "smart" with automatic temperature sensors? Click to the next post in the series to find out!