
Last Updated: Tues, Jun 3, 2025

What I Learned In My First Year of Brooding Ducklings: Mistakes, Messes, and Successes
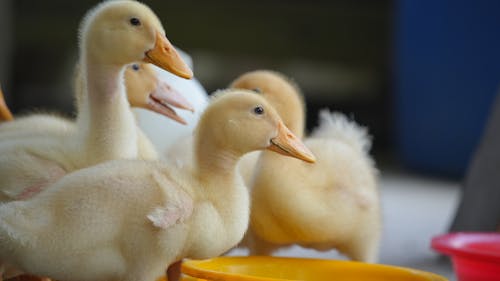
Raising ducklings is messy business, and unlike chicks, is not forgiving and not easy. I learned a lot in my first year of brooding ducklings, including the best bedding to use in the brooder (which took me a long time to figure out!) and I want to pass that knowledge on to anyone who is just starting out in their journey of raising ducklings.
Looking for a care guide on a specific topic? Check out these articles, or continue reading for a more general overview:
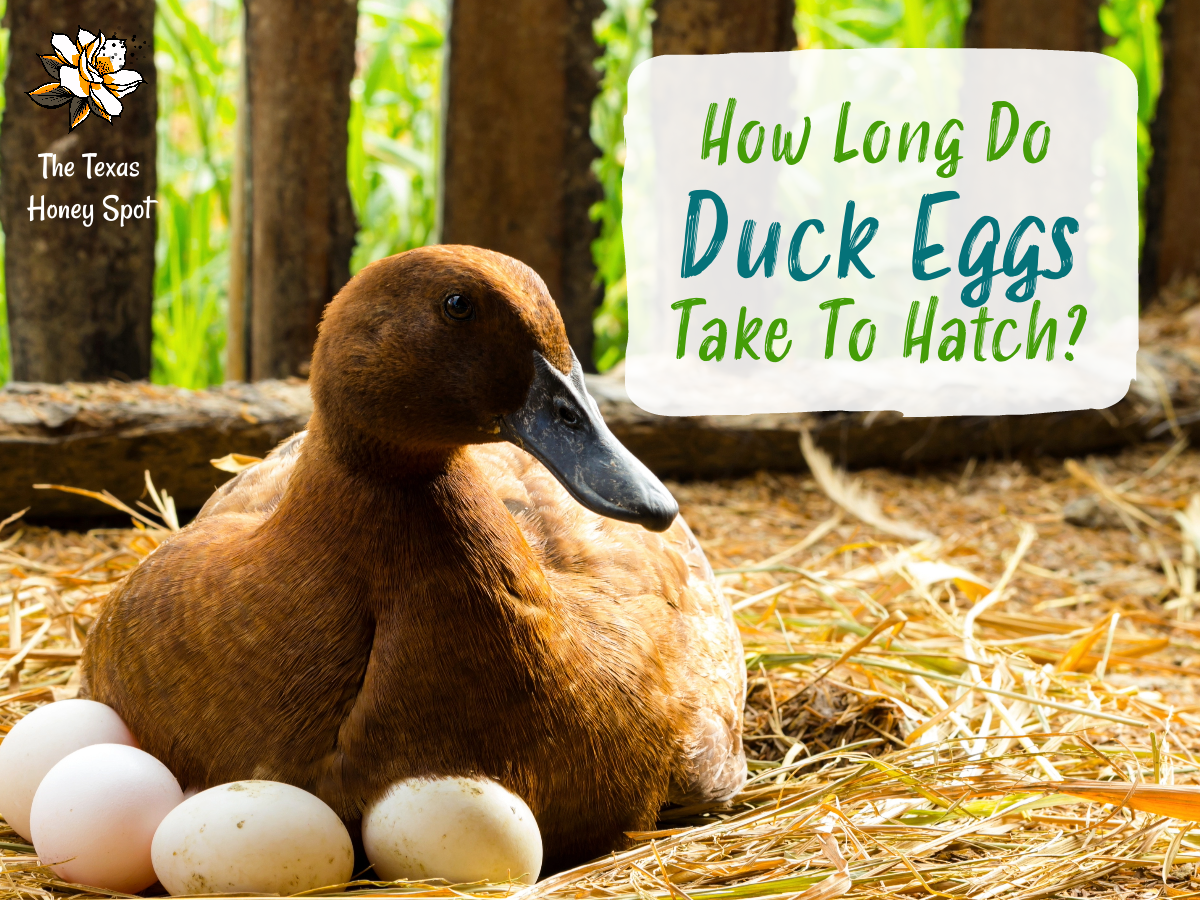
Learn how long it takes to incubate and hatch duck eggs, broken down by breed.
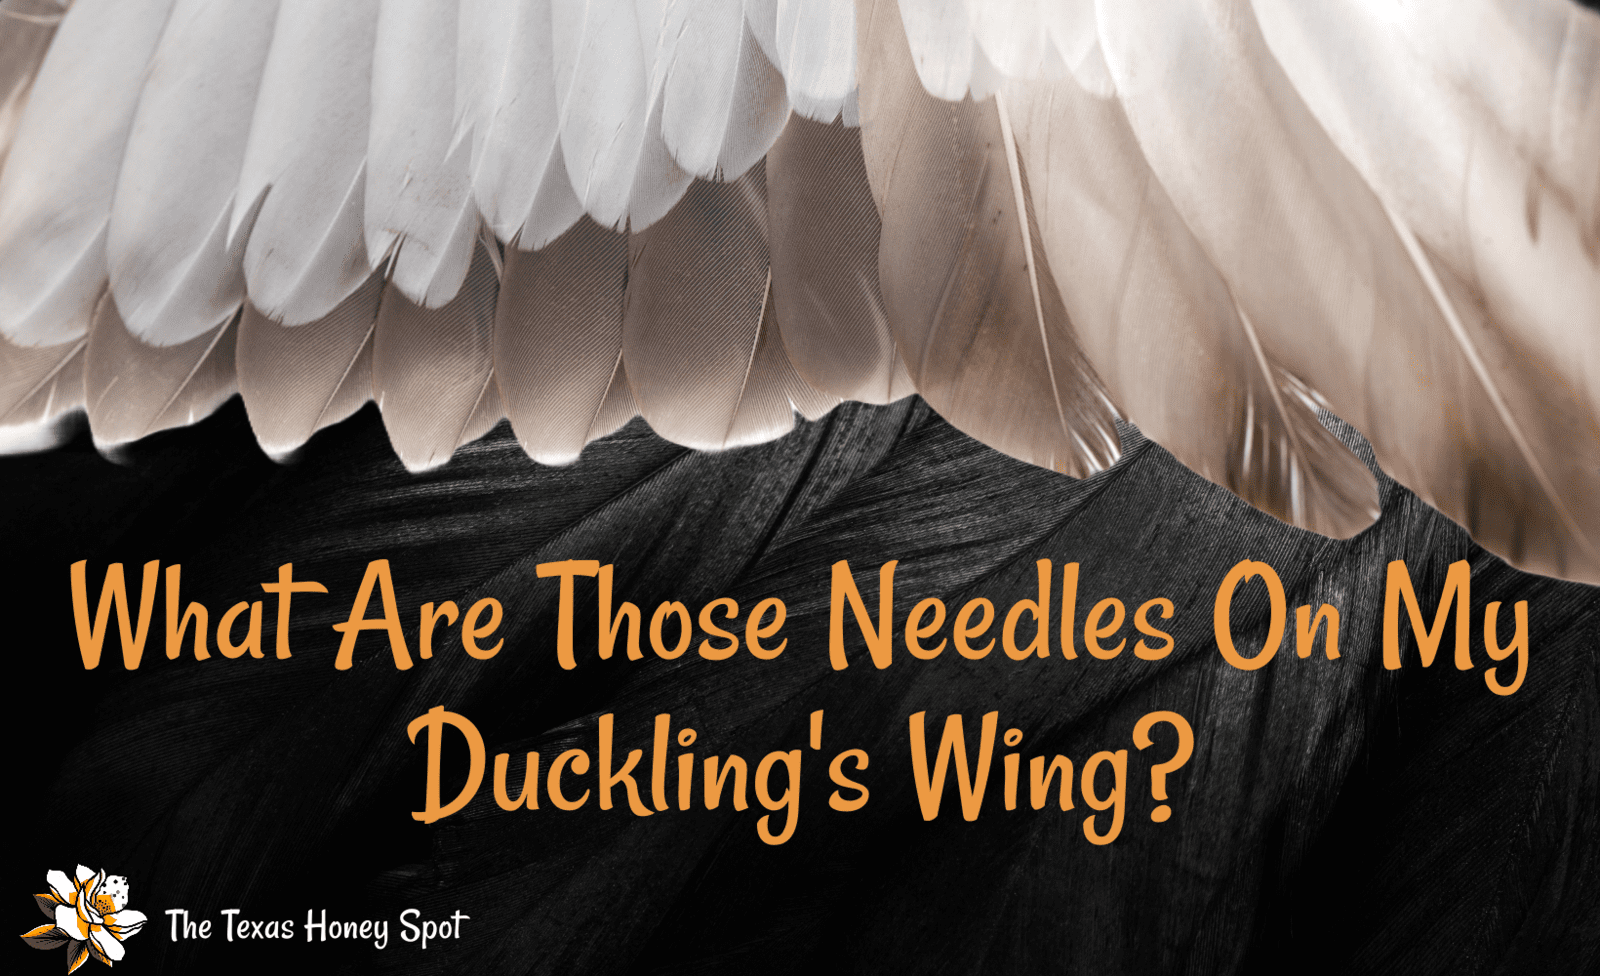
Find out why your duckling's wings are changing and what the needles are on your duckling's wings.
I will be brutally honest here, I did some things wrong and made some mistakes that didn't end well for the ducklings I was taking care of, in particular when it came to predator control and cleaning. Luckily, I learned from those mistakes and I can continue to grow and do better. Hopefully my mistakes can help you learn without having to go through the consequences of losing ducklings.
Brooder Set-Up
Our brooder system was a struggle at first. Not knowing any better and needing a fast solution for a small amount of ducklings, we tarted out using a variety of things such as cardboard boxes and totes. We kept them indoors in our library, but they were so messy and we couldn't handle the smell, so we had to get them out of there!
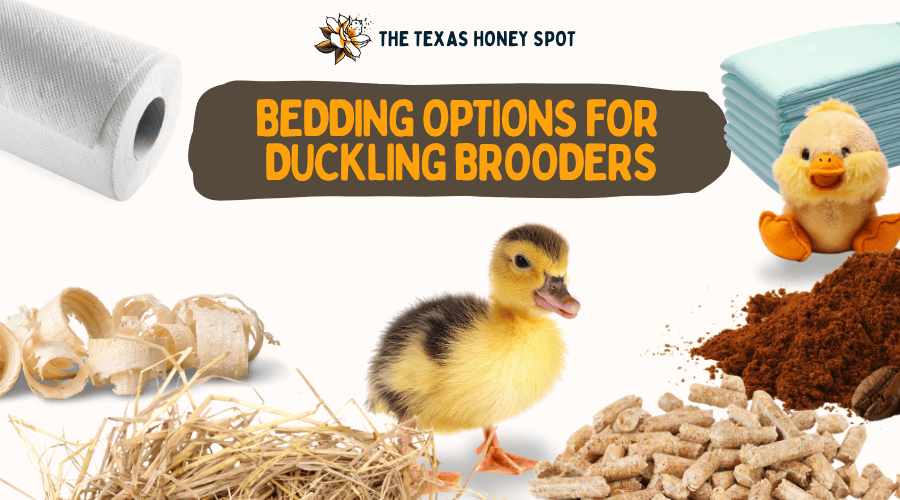
Bedding For The Brooder
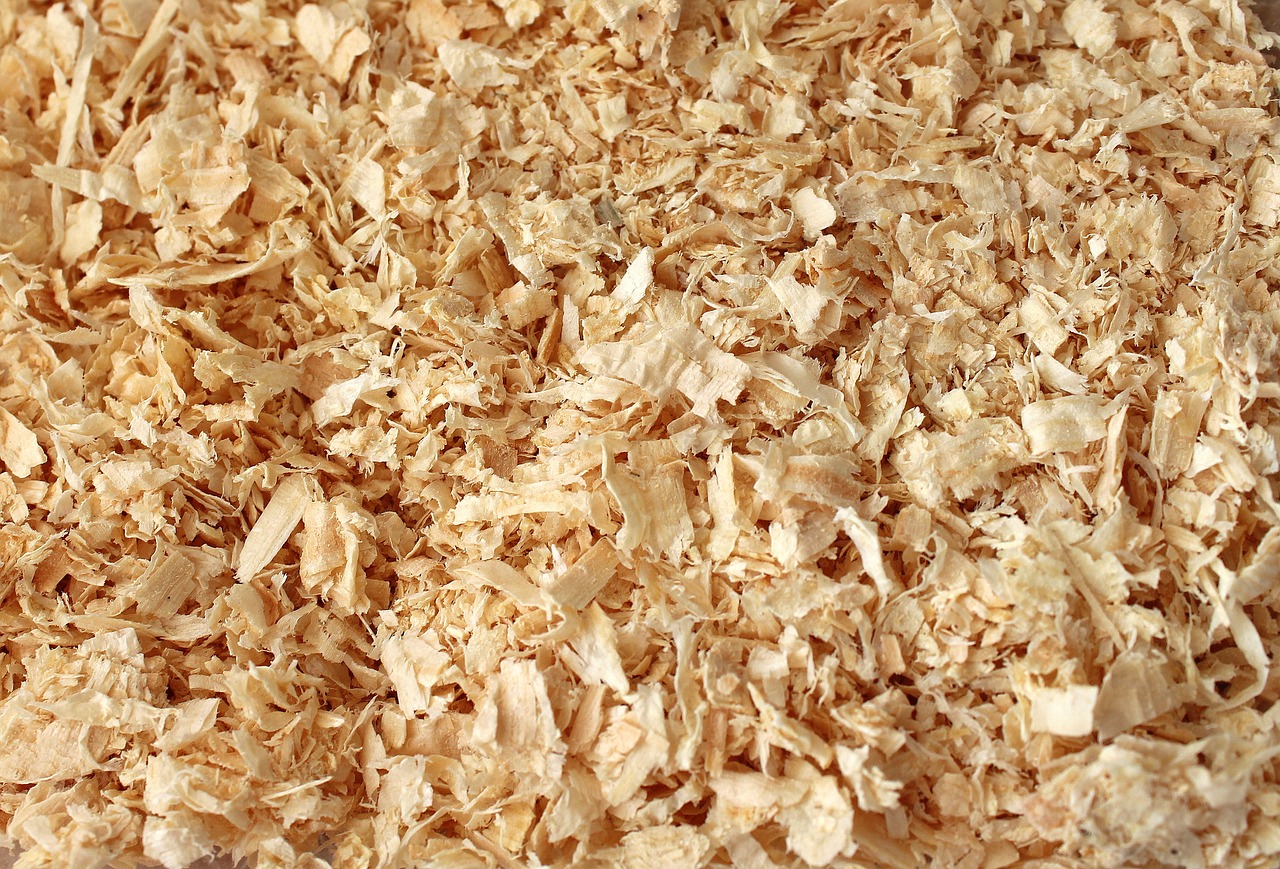
We ended up building a new brooder that was enabled with smart sensors and heat lamps so that we could take better care of our ducklings. After building the brooder, we went through several different bedding options, such as pine shavings, vinyl, and puppy pads before finding one that worked for that specific brooder, which was a rubber horse stall mat with 2+ inches of pine shavings. A detailed analysis of the best bedding for a duckling brooder can be found here: best bedding to use in the brooder
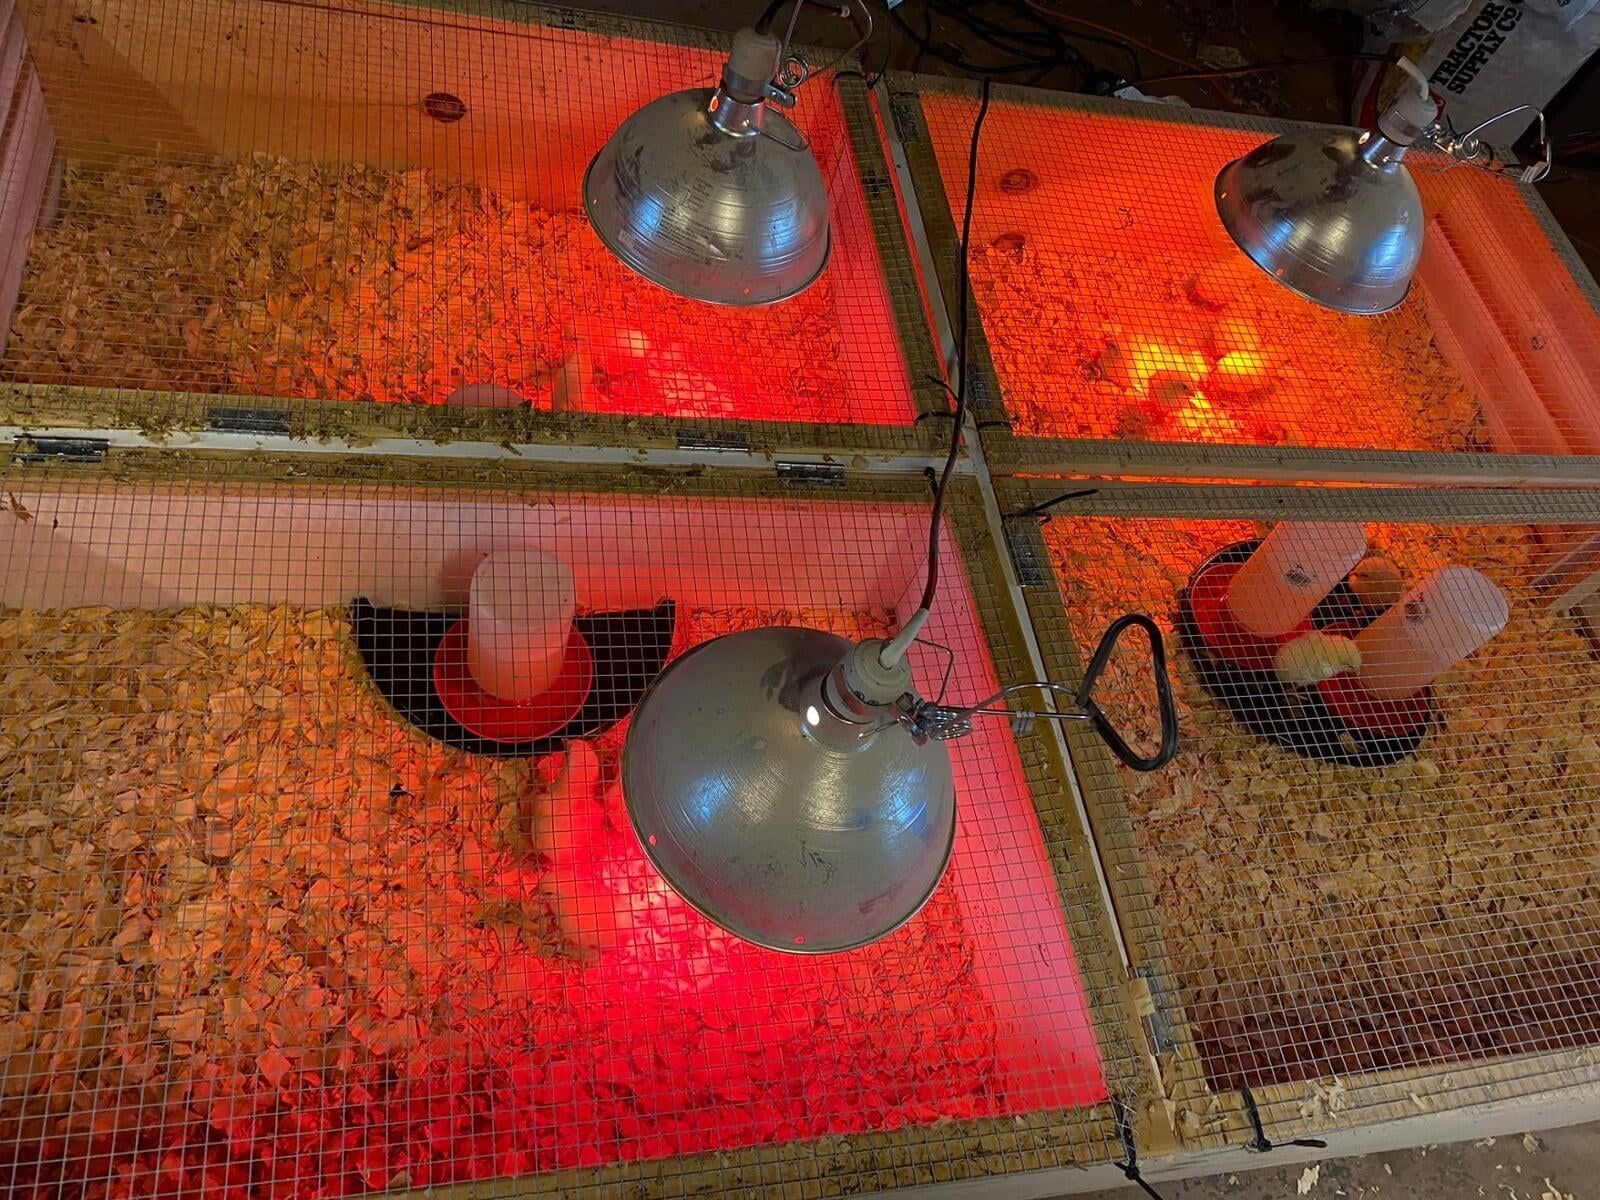
Heating For The Brooder
Heat was easy enough to figure out, ducklings aren't as sensitive to changes in heat as chicks are. We ended up keeping our ducklings in the hatcher for the first day and a half, moving them to a 20 gallon fish tank with a Brinsea brooder plate for an additional day, and then moving them to the brooder that we built with heat lamps. We keep the heat lamps at 95 degrees for the first week, then reduce by 5-7 degrees per week until room temperature.
Keeping The Brooder Secure
Security of the brooder was difficult to obtain with our cats and our neighbor's dogs hanging around. When we kept the brooder inside, our cat was the main threat to our ducklings. Outside, our neighbor's dog (who unfortunately was responsible for killing one of our cats and several of our chickens) and constantly annoyed the ducks and broke into the building where the ducklings were kept after we moved them out of the house. Since Texas is a fence-out state, we learned we had to do our part to make sure the neighbor's dogs had reduced access to our property.
We secured the fences, fixed up holes in our barn, and put latches on our brooders. We also kept the ducks in a covered, indoor area for the first 6 weeks. This not only helped keep out the dogs, but helped keep out snakes, opossums, hawks, and owls.
Food and Water
We learned that supplying ducklings with the correct food for their stage of development, and figuring out the best way to get them water was essential to making sure they could get through the duckling stage safely.
Duck Feed From Hatch To Fully Feathered
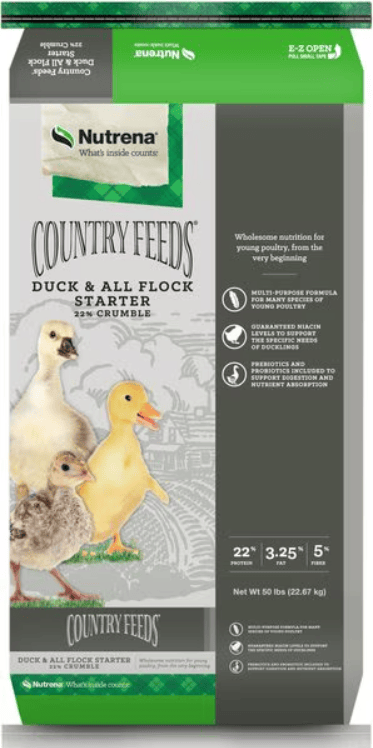
We started out by using non-medicated feed, as we read online that it was unsafe for ducklings. Later on, we learned that ducklings can have medicated feed without any adverse effects. We switched to that for a while before discovering Nutrena Duck & Goose Starter Crumbles, which has been unmatched in helping our ducklings develop quickly without any deficiencies.
We highly recommend Nutrena Country Feeds Duck Feed as the main feed for your ducks as soon as they are old enough to consume pellets without choking on them (approximately 4-6 weeks old). The protein content for our specific line of magpie ducks, as well as the environment that they grew up in, seemed to be appropriate to help them finish developing. We also tried Purina Duck Feed, and our adult ducks quit laying and younger ducks developed angel wing until we switched, likely because of the slightly higher protein content. All-Flock feed from any brand seemed to have the same effect.

Duck feed basics summary:
- Feed Nutrena Duck & Goose Starter Crumbles at hatch
- Feed Nutrena Country Feeds Duck Feed from 4-6 weeks old
- Consider switching to a different food if you see developmental deficiencies
- Grit is not necessary
- If you cut your main feed with another feed, be aware of the protein and niacin content and supplement these or switch main foods if necessary to re-achieve the correct ratio
Management Of Duckling Water
Another thing we learned was that access to water 24/7 is required for ducklings to thrive. Ducklings require water to digest their food, and if they go without water for too long then they will become dehydrated and also possibly choke on their food. When left without water for even a short amount of time, when given water again, ducklings will gorge themselves to the point where it can cause toxicity, rupture of internal organs, or seizures.
If you let your ducklings run out of water, give them water in very small quantities every 15 minutes until they are no longer gorging themselves, then refill their water completely and try not to let them run out again. Water should always be given in a shallow dish with a wide berth around the water source between the edges of the brooder.
Cleaning the Brooder
Duckling mess can turn into toxic conditions really quickly. Frequent cleaning of the brooder in order to keep it from becoming a breeding ground for harmful bacteria is necessary. The deep litter method, popular in poultry keeping, should not be used in a duckling brooder.
If needed, after cleaning out the brooder, you can use a sprayer with white vinegar as a natural disinfectant on your brooder and anything your brooder touches. Watch for mold, flies, mites, or anything indicative of a nasty brooder and clean it out immediately when you see those signs, and you will have happy, thriving ducklings. I recommend spot-cleaning the brooder daily and doing a entire clean out at least once a week.
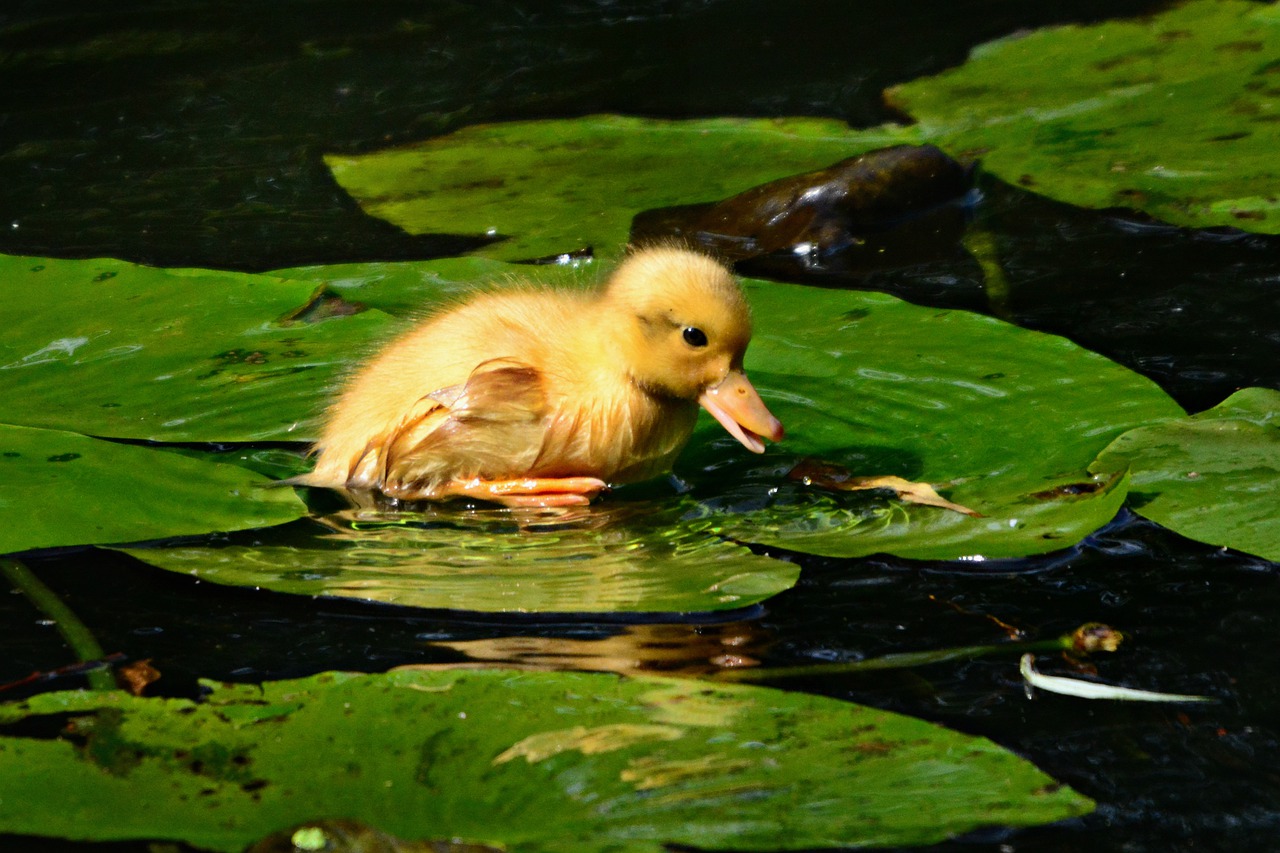
Bath Time: Letting Your Ducklings Swim
There's nothing cuter than seeing a little duckling swim, but honestly, there is no need to provide them access to water to swim in. Once they are fully feathered, they will figure out how to swim on their own.
Duckling Swimming Safety Rules
Remember these safety rules if you choose to let your ducklings swim:
- Supervise your ducklings at all times
- Only let your ducklings swim for a few minutes
- The water be slightly deeper than their bodies
- The water must be warm/slightly less than body temperature, not hot or cold
- Dry the ducklings off immediately after they are done swimming
- Put the ducklings back in the brooder immediately
- Do not let ducklings younger than 1 week of age swim
Do not allow ducklings to swim in cold water or outside on cold days. One day, we had what I thought was exceptionally nice weather. I went to fill up the tub that I let our 4 week old ducklings consistently take a bath in, and the water wasn't even deep. I put the ducklings in it to play, and my husband called me away for a minute and I came back to my ducklings in shock. This was a horrible experience and it was my fault for not supervising the ducklings and and putting them in water when it was too cold outside for their young bodies to handle.
Don't allow access to swimmable water if you aren't there to supervise.
Signs of Sickness in Ducklings
The thing we dealt with the most was dehydration from the ducklings spilling their water while we weren't there to supervise.
Before rearing ducklings, I would recommend reading the below sources to get familiar with signs of the sicknesses you could encounter with ducklings, and how to treat them.
- Wry Neck - Fresh Eggs Daily
- Pasty Butt - MyPetChicken (especially for ducklings that have been shipped)
- Splay/Spraddle Leg or Slipped Tendon - PoultryPedia
- Niacin Deficiency - Home in the Finger Lakes
- Overheating/Heat Stress - Duck DVM (especially for ducklings using a heat lamp instead of a brooder plate)
- Becoming Chilled - Farmhouse Guide
Duckling Medicine Box
I recommend having the following items on hand in your "duckling medicine box". These items have come in handy many times for fixing up not only ducklings, but adult ducks as well.
| First Aid Item | Use / Notes |
|---|---|
| Rooster Booster Poultry Cell supplement | Great source of niacin and other vitamins; helpful for most conditions and ideal for adding to duckling water during the first few weeks. |
| Towels or rags | Always handy for wrapping ducklings, cleaning up messes, or creating soft surfaces. |
| VetRap | Flexible wrap that holds bandages in place; perfect for supporting wings or legs. |
| Small syringe (for liquid/drenching) | Useful for giving oral supplements; look for the smallest size at your local feed store. |
| Corn starch or blood coagulator | Essential for stopping bleeding — a must-have for everyday injuries on the farm. |
Niacin/Vitamin B3
Ducks have requirements for niacin in order to grow. You can fulfill this requirement in many ways. We found that the best way for us to meet this requirement was by adding vitamins to their feed and water in the form of Rooster Booster crumbles and Poultry Cell, both of which are available online and from most farm stores.
Peas were a fun snack but most of the time, ducklings struggled to eat peas and wouldn't touch them if they were mushed. Also, peas are not a sufficient source of niacin. Brewer's yeast was originally hard to get ahold of, but now it is easy to order on amazon or find at the grocery store. Still, my go-to choice is Rooster Booster crumbles, which I usually buy from Chewy.

Transitioning Ducklings To The Main Flock
When it came time to transition our young ducklings to the adult flock, we were very excited. At first, unaware of predator problems, we fenced off a small part of our duck run to put the little ones in to interact with the adult ducks through the fence. Unfortunately, snakes got the entirety of our first batch of ducklings. Then, we tried keeping our ducklings in a dog crate during the night for safety and in their run during the day, but snakes still managed to squeeze into the tiny holes.
The Best Way To Integrate New Ducklings
The thing that finally worked was when we built a small duckling tractor out of hardware cloth and 1x2's. We continued to get snakes in our duck coop that tried their hardest to get to the babies, but they were unsuccessful. Adding a pair of White Chinese Geese to scare snakes away from our duckling was a great decision. Once the ducklings were big enough to hold their own against the adult ducks, and it had been a few weeks where the adult ducks could see the babies through the tractor fence, we went ahead and added them to the flock.

In Conclusion: We Hope This Helps You!
We learned so much in our first year of brooding ducklings, and honestly, we made plenty of mistakes along the way. But each misstep taught us something valuable, and that's exactly why we wanted to share this post. Our hope is that you can start your own duckling journey feeling a little more confident, a little more prepared, and maybe avoid some of the stress we ran into early on.